
Set up single sign-on with OpenID Connect
Tabs
FormCan works with any identity provider that supports OpenID Connect, for example Auth0, Keycloak, OneLogin or Ping Identity. Use this guide when your provider has no guide of its own.
For an overview of the Single Sign-On page, see Single sign-on (SSO). There are separate guides for Okta and Microsoft Entra ID.
Before you begin
- You can create an OpenID Connect application at your identity provider.
- In FormCan, you are the team owner or a member with the Manage members access.
- In FormCan, open your team menu and select Single Sign-On. On the Connection tab, pick Other (OpenID Connect).
Values for your identity provider
Create a web application at your provider that uses the authorization code flow, and enter the values from 2. Values for your identity provider:
- Sign-in redirect URI: where your provider sends the user back. Other names: redirect URI, callback URL.
- Initiate login URI (start URL): optional. Use it as the login URL of the application tile, so that a click on the tile starts the sign-in at FormCan.
Allow the scopes openid, profile and email.
Values from your identity provider
Under 3. Values from your identity provider, enter:
- Issuer URL: the address of your provider’s issuer. FormCan reads the provider’s settings from
/.well-known/openid-configurationunder this address, so paste the issuer exactly as your provider shows it. - Client ID and Client secret: from the application you created. The secret is stored encrypted and is never shown again.
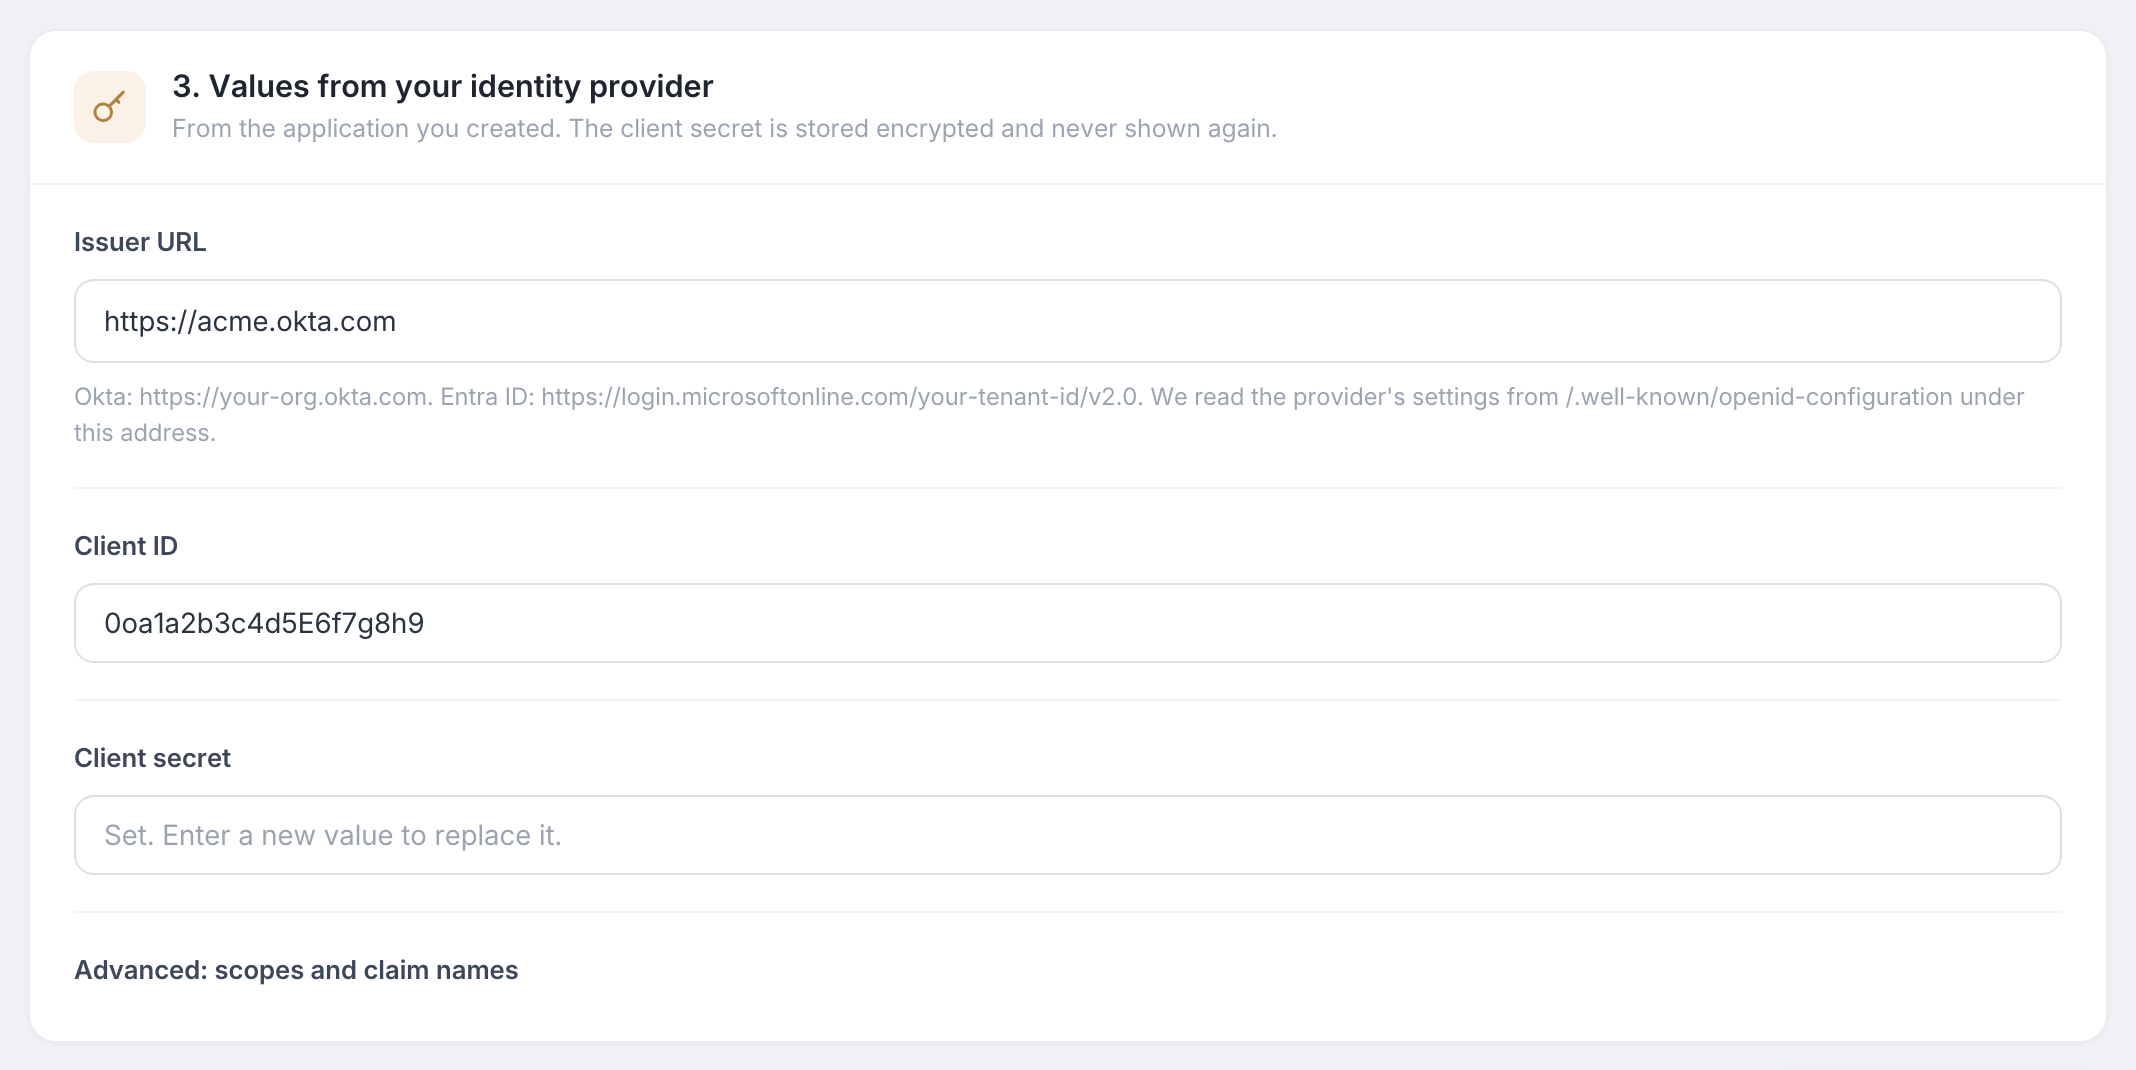
Click Save connection.
If your provider uses other claim names than email, given_name and family_name, enter them under Advanced: scopes and claim names.
Verify your domain, test and turn on
-
On the Email domains tab, add your company domain, create the TXT record FormCan shows at your DNS provider, and click Verify.
-
In the status card, click Test connection. A window signs you in through your provider and shows the email, name and claim names FormCan received. Use those names to correct the mapping if the name or email is missing.
-
Click Turn on single sign-on.
See Sign-in rules to require single sign-on or to let new members join automatically.
Technical details
- FormCan uses the authorization code flow with PKCE and a client secret.
- The ID token is verified against the signing keys published by your issuer.
- The issuer URL must be a public
httpsaddress. - FormCan does not keep access tokens or refresh tokens after the sign-in.
Troubleshooting
| Message | What to check |
|---|---|
| Your provider shows an error about the redirect URI | The redirect URI at your provider differs from the Sign-in redirect URI on the FormCan page. Compare the scheme, the host and the trailing slash. |
| “The identity provider returned a token we could not verify.” | The issuer URL, the client ID or the client secret is wrong, or the secret has expired. |
| “The identity provider did not send an email address.” | The email scope is not allowed, or the claim has another name. Check Advanced: scopes and claim names. |
| “The identity provider sent an email at @example.com, which is not one of your verified domains.” | The account’s email is on a domain you have not verified. |